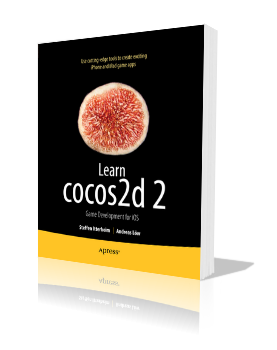
For the second edition of the Learn Cocos2D book I compiled an alphabetically sorted list of tools that developers can use for cocos2d projects. Please let me know if there’s a tool missing from this list or if there’s one that won’t work anymore and hasn’t been updated in months.
The following tools can be used for development with cocos2d:
Bitmap Font Tools
BMFont (Windows)
Fonteditor
Glyph Designer
bmGlyph
Hiero
LabelAtlasCreator
Particle Editing Tools
ParticleCreator
Particle Designer
Physics Editing Tools
Mekanimo
PhysicsBench
PhysicsEditor
VertexHelper
Scene Editing Tools
CocosBuilder
Cocoshop
LevelHelper
Texture Atlas Tools
DarkFunction Editor
SpriteHelper
TexturePacker
Zwoptex
Tilemap Editing Tools
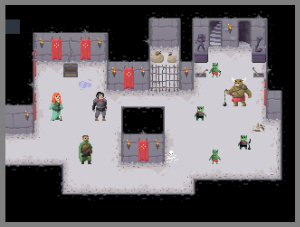
iTileMaps developed by Vsevolod Klementjev is a Cocos2D app for iPad that allows you to edit tilemaps in the TMX format, the same format used by the popular Tiled Map Editor.
Although built with Cocos2D the tilemaps created with iTileMaps can be used with any game engine that supports loading the TMX format. To get ahold of the tilemaps created with iTileMaps you can export them directly to your game or send them via e-mail. Great for designing levels on the road!
Check out this fast-forward movie to see it in action:
Check out the iTileMaps website and/or get it on the iTunes App Store.
Continuing with yesterday’s Box2D Car demo I’d like to stay on the topic of Box2D and present to you the Tilemap based Box2D world put together by theTconcept, a website hosted by a group of italian and mexican designers, writers and coders.
In their tutorial they explain how to create Box2D collisions from a Tiled Map Editor world, by using the object group layer. The one you can use to place arbitrary rectangles on in Tiled. The resulting Xcode project is available for download.
Chapter 11 - Isometric Tilemaps
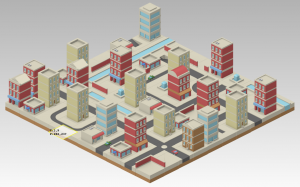
After Chapter 10 introduced Tiled and working with orthogonal tilemaps it’s time to step things up a notch and delve into isometric tilemaps. It starts with basic principles of isometric tilemaps and editing before going into detail on what’s different code-wise compared to orthogonal tilemaps. Obviously this has to include how to determine which isometric tile was touched and how to move a character across an isometric tilemap.
Summary of working on Chapter 10 - Working with Tilemaps
This chapter introduces you to tilemaps, what they are and what benefits and tradeoffs they provide. Without a doubt the most popular editor for tilemaps for use with cocos2d is the Tiled Map Editor. I explain how to use it over several pages before going into code and actually loading your first tilemap using cocos2d’s CCTMXTiledMap class.
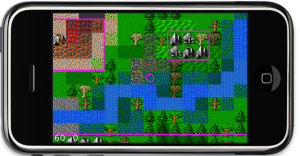 Loading a tilemap is just half the story. You’ll also learn how to manipulate the tilemap layers and individual tiles, as well as scrolling the tilemap and centering the touched tile on screen. The code takes care that the tilemap is never scrolled outside its boundaries.
While working with the Object Layer feature of Tiled (CCTMXObjectGroup in cocos2d) I noticed it’ll be handy to display the rectangles on the screen. So you’ll also learn a little custom drawing using OpenGL ES respectively cocos2d’s wrapper functions in CCDrawPrimitives.
Chapter 10 - Working with Tilemaps
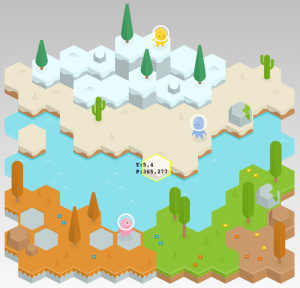
This chapter dives into the depths of the CCTMXTileMap class and how to create, iterate and modify tilemaps in code, including isometric and hexagonal tilemaps. Of course there will be an introduction to the Tiled Map Editor as its the primary tool to create TMX tilemaps that cocos2d supports.
The chapter 11 will then use this newfound information and I’ll walk you through making a scrolling tilemap game, since simply loading, modifying and displaying a tilemap would just be half the story.
Summary of working on Chapter 9 - Particle Effects
This chapter was fun. Particle effects are fun indeed. That is, unless you need to tweak them in code only. I did do that an did my best to describe what each CCParticleSystem property does to a visual effect, although some things you’ll have to see for yourself. You’ll find a lot of detailed information on how to setup or simply modify a particle system in code and a couple tips for designing good particle effects.
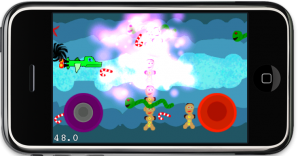 Of course with Particle Designer everything changes. Designing a cool particle effect suddenly goes from a treadmill to a mesmerizing activity that you can waste countless hours on. If you check Particle Designer’s Online Library you’ll find four of the Particle Effects that I designed and submitted, starting with the “Colorful Burst” effect. Have a look!
Obviously these cool effects needed to go somewhere, so I added them to the Shoot ’em Up game as you can see in the screenshot (the boss just exploded into purple smudge). Along the way you learn how to load the particle effects created by Particle Designer of course.


