Cocos2D “for iPhone” (as in: Objective-C) now has two forks:
- Cocos2D-ObjC maintained by Lars Birkemose. This fork builds on v3.4 with a focus on making Cocos2D easier to use for beginners. Its website is cocos2d-objc.org.
- Cocos2D-SpriteBuilder maintained by Scott Lembcke and others. This fork is currently at v3.4 also but will soon have a v4 release. Its website is spritebuilder.com.
How did this happen?
Scott’s thread explains it to some degree. There’s more info on the -ObjC thread. And the -ObjC mini roadmap provides some more insight.
Long story short: Lars and Scott disagree on the direction of Cocos2D. Lars continues with the version 3.4 of Cocos2D before any work on v4 has started. Naturally Cocos2D-SpriteBuilder will soon be the previously announced v4.
This happened shortly after Apportable stopped sponsoring the development of new Cocos2D/SpriteBuilder features. For Lars, Cocos2D was becoming this big chunk of support code for SpriteBuilder, and he’s now trying to turn the ship around.
Double-fork all the way - what does it mean?
I thought I’ll give you a demo of the upcoming CCLightNode visual effect that will be available in Cocos2D-Swift v3.4, which comes bundled with the upcoming SpriteBuilder v1.4 (available on the Mac App Store soon, v1.4 beta is available for download).
Introducing CCEffect
You may have already heard about the other shader effects first introduced with Cocos2D-Swift v3.2. Below is the Crystals example app, in particular it demonstrates the glass (reflection/refraction) effects:
Pretty neat stuff. More effects have been added in Cocos2D-Swift v3.3. Now with v3.4 around the corner, the CCLightNode and accompanying effects will shine their highly configurable lights on upcoming apps.
Introducing Lighting via CCLightNode
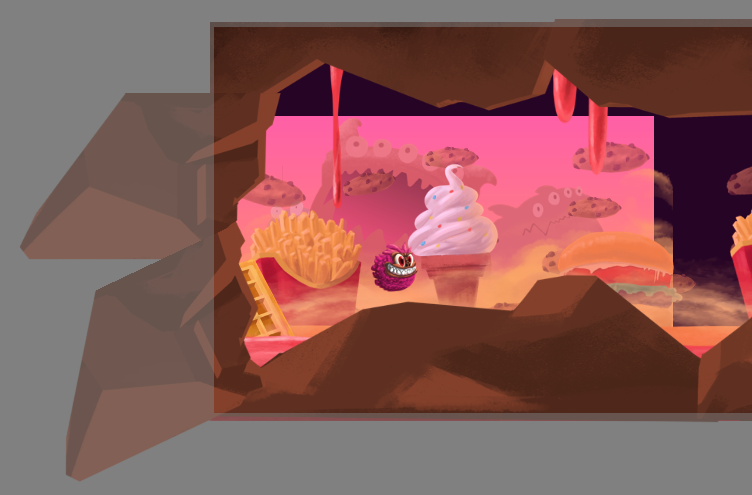
For the most part, the demo was put together entirely in SpriteBuilder:
![]()
It only took a little bit of code to add a light node that you can drag around when touching the screen. I chose to use Swift for this example, if only to highlight that yes, you can use use 100% Swift to make your SpriteBuilder + Cocos2D apps if you wish. Continue reading »
A little known secret (apparently) is that Cocos2D and SpriteBuilder have an actual developer guide that covers a lot of basics and advanced stuff alike.
The only problem with it is that it’s not well-known, hence this post. I’m hoping to bump it in the Google search results by posting and tweeting it, so if you could do the same that would be really appreciated!
Here’s the link to the SpriteBuilder & Cocos2D Developer Guide:
https://www.makeschool.com/docs
Cocos2D Swift Examples
Also, let it be known that the developer guide has Cocos2D example code in both Swift and Objective-C.
I’m done writing the Tome of SpriteBuilder.
There’s only edits and reviews left, page proofing and then it goes out to print. Meanwhile, I’m cleaning up and extending the Bouncy Beast project for its App Store release.
Time to share some insights as I haven’t been able to slice some time off to write about the process as I originally intended to.
What’s in the book?
In the Learn SpriteBuilder book you will learn SpriteBuilder step-by-step while building the Bouncy Beast game.
The book will guide you through the creation of a physics-driven, parallax-scrolling game with the help of SpriteBuilder, Cocos2D (cocos2d-swift) and Objective-C. The level-based structure will enable you to add more content to the game, even without writing additional code.
As your guide I will walk you through the individual steps necessary to create the game project. Along the way I’ll explain the SpriteBuilder features, caveats, workarounds and helpful tips and tricks as you are most likely to come across or need them.
 At the end you’ll have a complete game reminiscent of games like Badland.
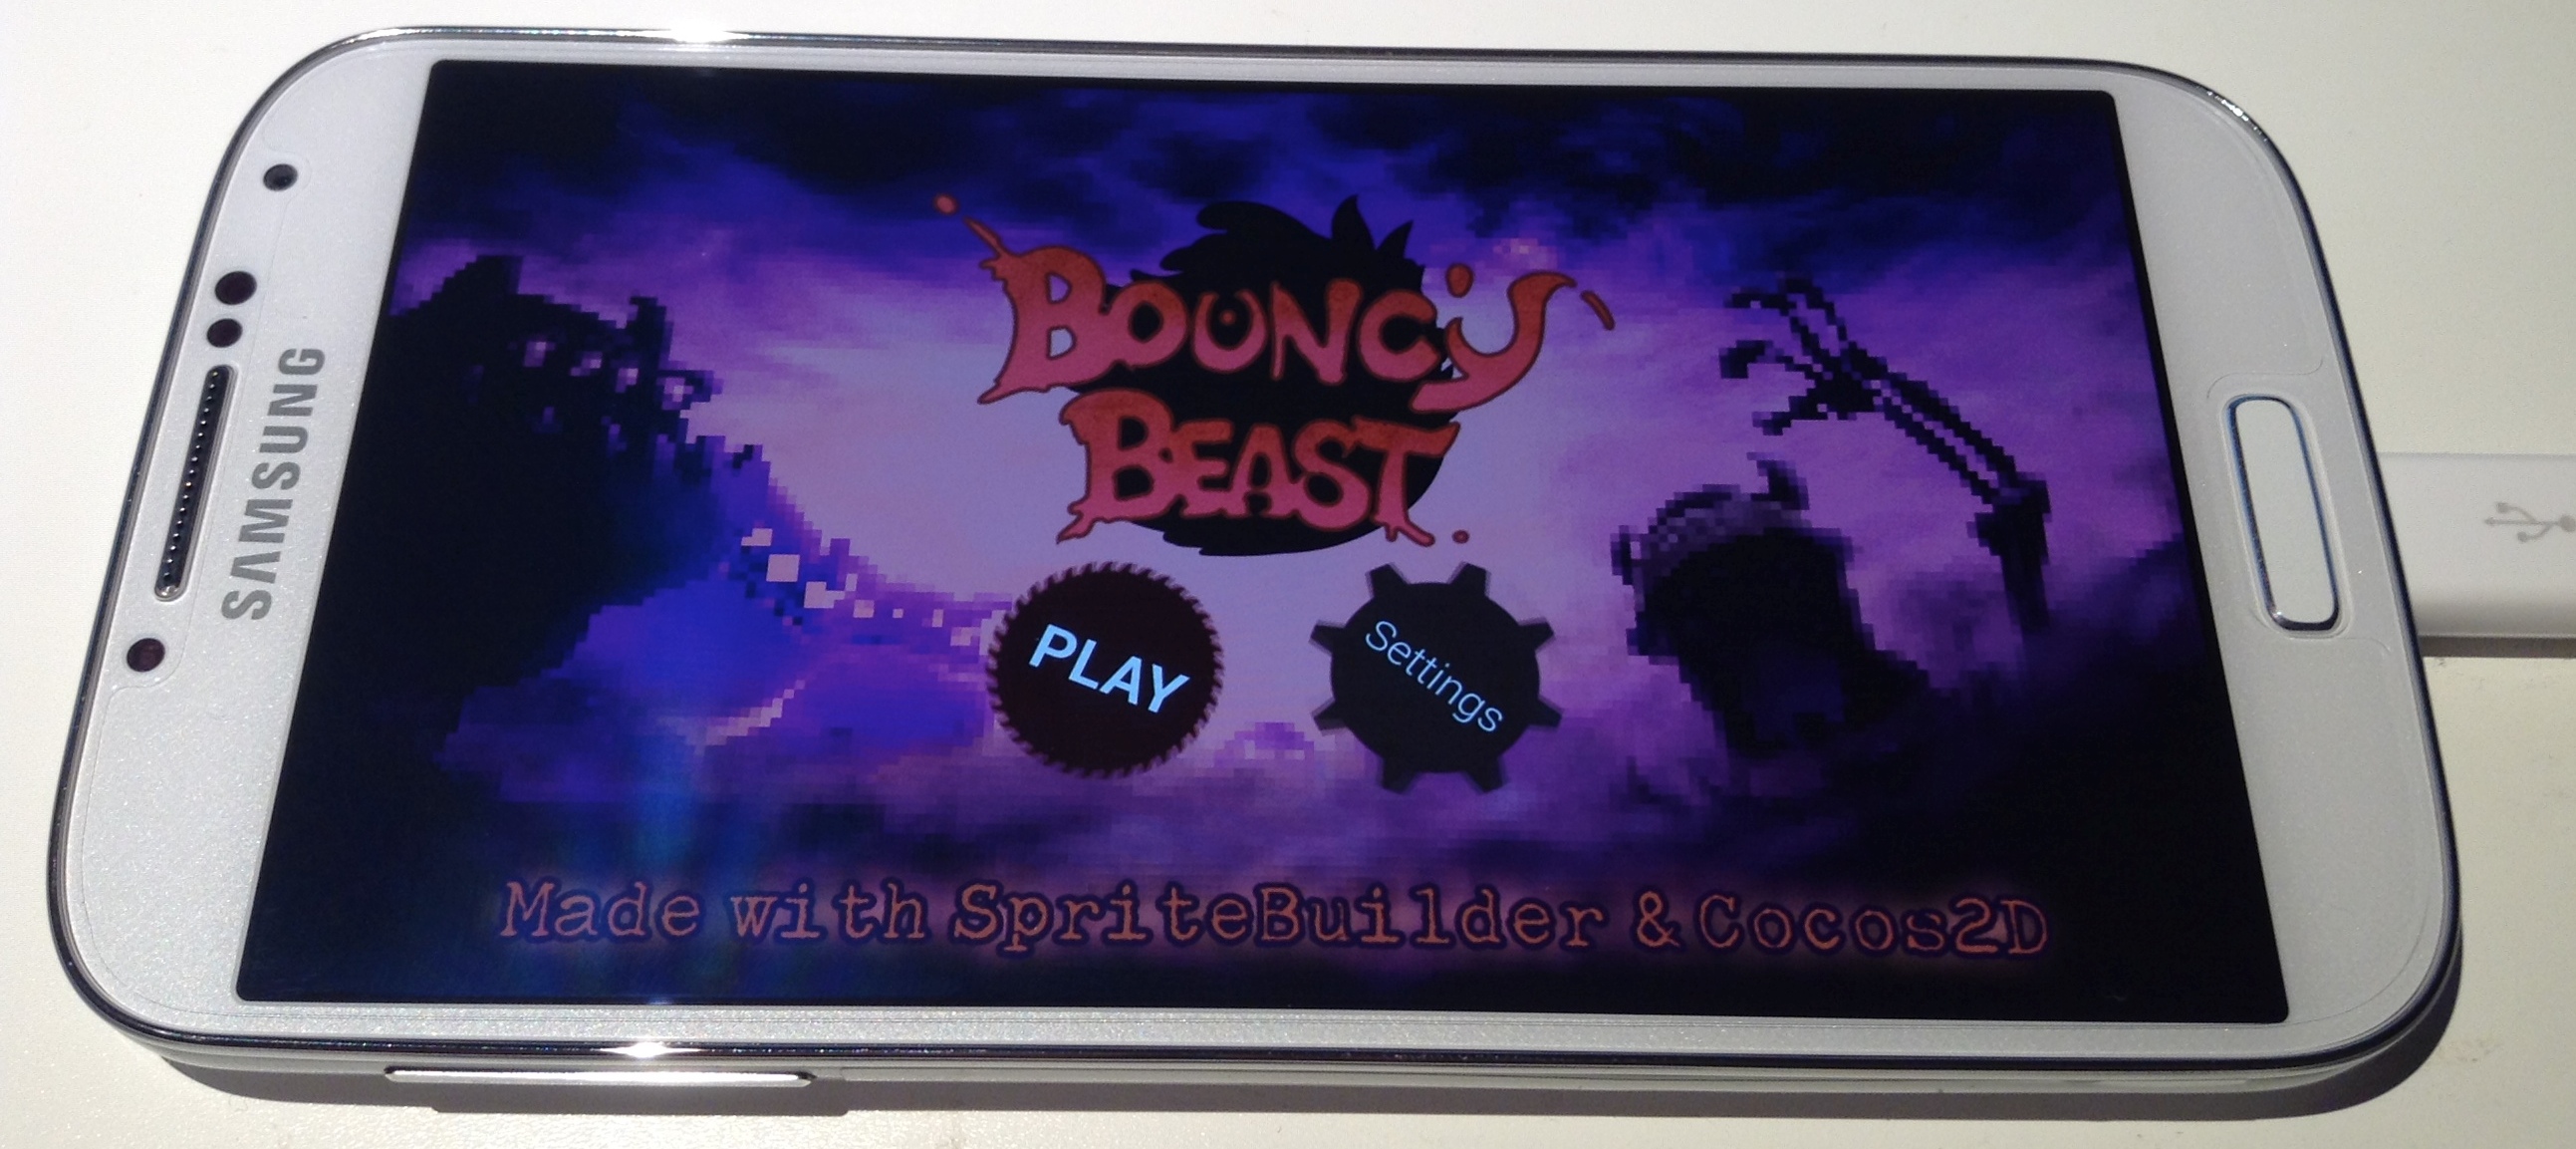
The game also runs on Android devices thanks to Apportable’s Android plugin for SpriteBuilder.
The Bouncy Beast project’s source code will be available.
Bouncy Beast Demo Video
Here’s a video demonstrating the game. Notice the subtle particle effect on the main menu’s background, the paginating scroll view, the soft-body player character.
NOTE: the suboptimal framerate in the video is 100% attributable to the iOS Simulator from which I recorded the video. On an iPod touch 5G the game runs with a constant 60 fps.
Since the announcement of the Learn SpriteBuilder book I’ve submitted the first three chapters to Apress.
Actually it’s chapters 2 through 4 because I’ve learned that the details in the first chapters tend to change significantly. This includes version numbers but also highlighted features, tool and project names, and so on.
Chapter Summary
Following is a summary of each chapter thus far.
Chapter 2 “Laying the Groundwork” first introduces the SpriteBuilder user interface but also Cocos2D (-iphone/-swift) programming basics. I really went above and beyond existing SpriteBuilder user interface tutorials to explain even the smaller details that boggled my mind when I was learning SpriteBuilder. You’ll learn the difference between Scene, Node or Layer CCBs. The effect of position, content size and scale modes (points, UI points, %, insets). What all the nodes are and what they are used for. But also how to make the code connections and what the difference between CCBReader load and loadAsScene is. The importance of Sub File nodes and the Tileless Editor View.
At the end you’ll have a firm grasp on SpriteBuilder basics and a project framework with two scenes and transitions between both scenes. Continue reading »
I’m excited to announce that I am writing a new book, titled Learn SpriteBuilder. It will be published by Apress and is both sponsored and supported by Apportable with top-notch graphics.
Over the course of the book you will create a level-based, parallax-scrolling game that’s not unlike Badland with some elements from Leo’s Fortune. The game will be complete with main menu, settings, level selection, pause and game over menus, music and sound effects, and room to extend the game with your own ideas, levels, code and other content.
Learn SpriteBuilder is not a direct sequel to ‘Learn Cocos2d’; its focus is on teaching efficient workflows with SpriteBuilder and demonstrating the connection between SpriteBuilder and cocos2d-iphone v3 (now known as cocos2d-swift). Still there’s plenty of Objective-C code necessary to build an iOS game and I’ll take extra care to explain it well, in particular the new Cocos2D v3 features.
The Learn SpriteBuilder book is aimed at beginning to intermediate Cocos2D and SpriteBuilder developers but also experienced Cocos2D developers who are interested in learning more advanced concepts. Among them are the new visual effects system currently in development for Cocos2D and a fully textured, deformable soft-body player character.
Three chapters alone are dedicated to physics editing with SpriteBuilder and physics programming with Objective-Chipmunk.
Frequently Asked Questions
Please leave a comment if you can’t find your question answered in this FAQ. Continue reading »
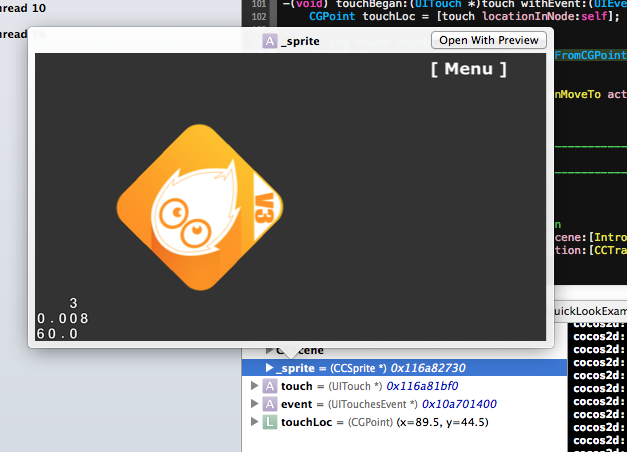
Xcode’s QuickLook debugging feature allows you to get more details, and be more visual with your debugging data.
For example you can even grab a screenshot of the cocos2d screen and display it right within Xcode: