 In case you haven’t heard of my latest project, please check it out: TilemapKit.
TilemapKit is now available for sale and works with both Cocos2D-ObjC and Cocos2D-SpriteBuilder.
What is TilemapKit?
In a nutshell, it’s a complete implementation of Tiled’s TMX format and all of Tiled’s features with a super-fast, multithreaded renderer and advanced features such as creating grid graphs for pathfinding, support for normal-mapped lighting of tilemaps, all necessary coordinate conversion methods and then some.
TilemapKit is free of artifacts, you can use multiple tilesets per tile layer, it plays tile animations, and can assign Tiled properties to any object via KVC.
There’s so much more to it, you should simply visit the features page from where you can also download the TilemapKit Trial.
Please post your questions and feedback on the TilemapKit forum and browse the roadmap, perhaps you’ll want to vote on one of the items or add your own.
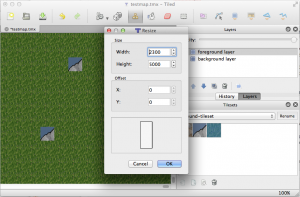 I’m currently working on a new tilemap renderer for KoboldTouch.
I now have an early version that’s fairly complete and does most of what cocos2d’s tilemap renderer can do. Pun intended: yes, cocos2d’s tilemap renderer really doesn’t do all that much: load and display tilemaps with multiple layers.
In fact my current implementation is one step ahead already:
KoboldTouch’s tilemap renderer doesn’t require you to use -hd/-ipad/-ipadhd TMX files and the related (often hard to use or buggy/broken) TMX scaling tools. Just use the same TMX file designed for standard resolution, then simply provide just the tileset images in the various sizes with the corresponding -hd/-ipad/-ipadhd suffixes. The tilemap looks the same on a Retina device, just with more image detail.
Performance Comparison
Anyhow, I thought I’ll do some quick performance tests. I have a test map with 2 layers and a tiny tileset (3 tiles, 40×40 points). I’m comparing both in the same KoboldTouch project, using the slim MVC wrapper (named KTLegacyTilemapViewController) for cocos2d’s tilemap renderer CCTMXTiledMap. Continue reading »
Chapter 11 - Isometric Tilemaps
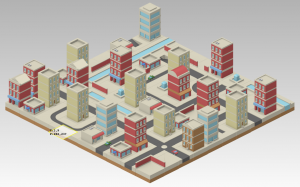
After Chapter 10 introduced Tiled and working with orthogonal tilemaps it’s time to step things up a notch and delve into isometric tilemaps. It starts with basic principles of isometric tilemaps and editing before going into detail on what’s different code-wise compared to orthogonal tilemaps. Obviously this has to include how to determine which isometric tile was touched and how to move a character across an isometric tilemap.
Summary of working on Chapter 10 - Working with Tilemaps
This chapter introduces you to tilemaps, what they are and what benefits and tradeoffs they provide. Without a doubt the most popular editor for tilemaps for use with cocos2d is the Tiled Map Editor. I explain how to use it over several pages before going into code and actually loading your first tilemap using cocos2d’s CCTMXTiledMap class.
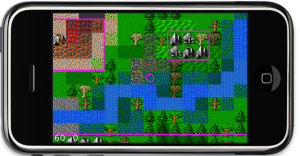 Loading a tilemap is just half the story. You’ll also learn how to manipulate the tilemap layers and individual tiles, as well as scrolling the tilemap and centering the touched tile on screen. The code takes care that the tilemap is never scrolled outside its boundaries.
While working with the Object Layer feature of Tiled (CCTMXObjectGroup in cocos2d) I noticed it’ll be handy to display the rectangles on the screen. So you’ll also learn a little custom drawing using OpenGL ES respectively cocos2d’s wrapper functions in CCDrawPrimitives.


