


Since the announcement of the Learn SpriteBuilder book I’ve submitted the first three chapters to Apress.
Actually it’s chapters 2 through 4 because I’ve learned that the details in the first chapters tend to change significantly. This includes version numbers but also highlighted features, tool and project names, and so on.
Chapter Summary
Following is a summary of each chapter thus far.
Chapter 2 “Laying the Groundwork” first introduces the SpriteBuilder user interface but also Cocos2D (-iphone/-swift) programming basics. I really went above and beyond existing SpriteBuilder user interface tutorials to explain even the smaller details that boggled my mind when I was learning SpriteBuilder. You’ll learn the difference between Scene, Node or Layer CCBs. The effect of position, content size and scale modes (points, UI points, %, insets). What all the nodes are and what they are used for. But also how to make the code connections and what the difference between CCBReader load and loadAsScene is. The importance of Sub File nodes and the Tileless Editor View.
At the end you’ll have a firm grasp on SpriteBuilder basics and a project framework with two scenes and transitions between both scenes.
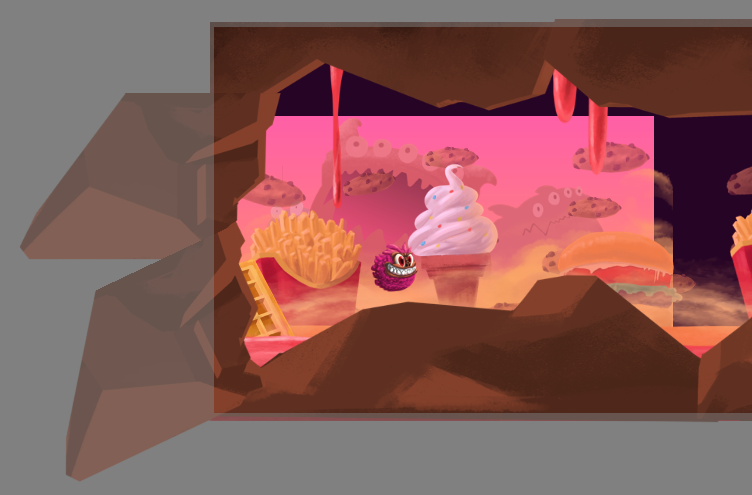
Chapter 3 “Controlling & Scrolling” continues the project with scrolling as the touch-controlled player moves through the level. Texture and project settings are explained here and the recommended workflow for working with images is explained while creating a multi-layered background. The background is then added to the level as the scrolling is updated to enable parallaxing in a form where parallaxing factors are simply derived from the content size of the background layers, with each layer aligning perfectly with all level boundaries.
The parallax scrolling code and how it works together with what you edit in SpriteBuilder is explained in detail, so it’s easy to adapt to your own projects.
Chapter 4 “Physics & Collisions” is where you change player movement from actions to physics impulse with a speed limit. You’ll learn about how to make custom properties editable in SpriteBuilder to keep your design variables in the editor rather than code before moving on to create the level’s boundaries using static physics objects with polygon shapes. Physics debug drawing is quickly touched on followed by a detailed explanation of how collision callback methods as well as collision categories and masks work in Chipmunk2D. This knowledge is then applied to introduce a level exit node which, when touched by the player, ends the level.
You now have a physical level with boundaries to build more of the game on, and a working knowledge regarding physics properties, shape editing and collision filtering and callback methods.
I’ll keep you posted on further progress about every three chapters, or once a month. Stay tuned and look for Learn SpriteBuilder by Apress near the end of 2014.
| Follow @gaminghorror | Follow @kobold2d |
|


Great stuff Steffen! Cant wait when the full book will be released! Keep it up!